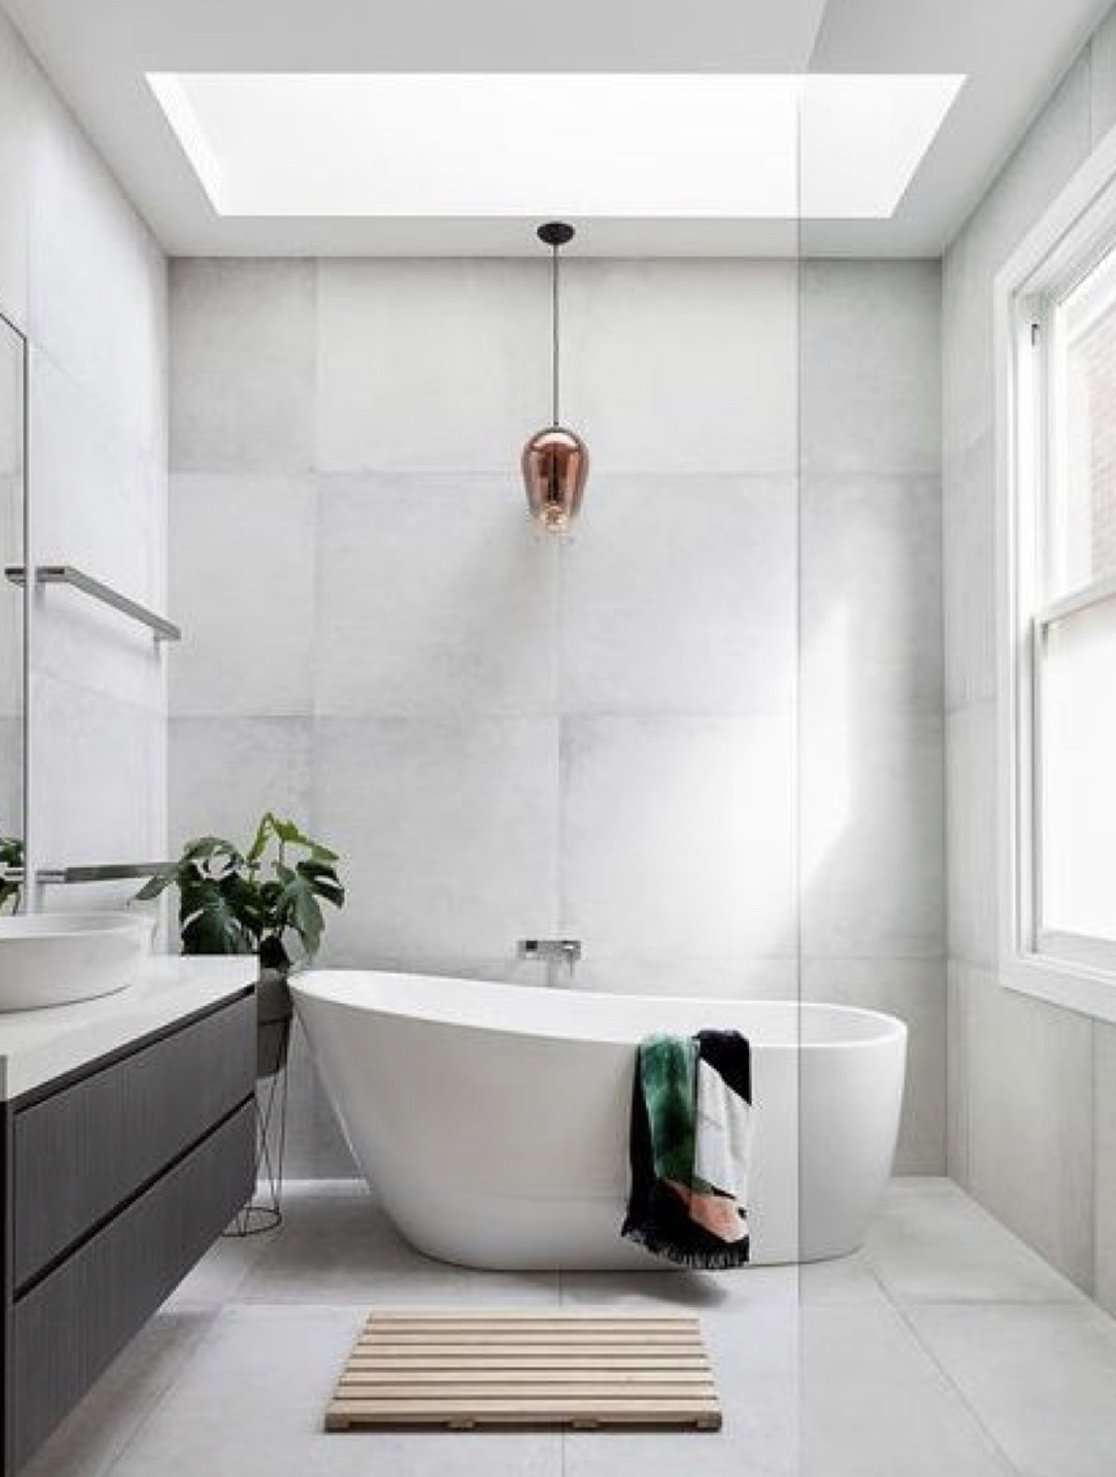
Does your once-loved bathroom leave you feeling…well, less than loved? Don’t despair! With a little elbow grease and this guide, you can ditch the outdated décor and create a stunning new space through the magic of tiling. While it might seem daunting, tiling your old bathroom remodel is an achievable DIY project that offers immense satisfaction and saves you a hefty chunk of change. So, grab your tools, channel your inner Michelangelo, and let’s get transforming!
Before You Begin:
1. Planning is Paramount: Measure your bathroom meticulously, sketch out your design, and calculate the required tiles. Don’t forget to factor in cuts and wastage (10-15% is a safe bet). Choose tiles that suit your space and style – smaller tiles can make a small bathroom feel more cramped, while larger ones might require extensive cutting.
2. Prep Work is Key: Remove old tiles, ensuring a clean and level surface. Address any moisture issues and apply waterproofing where necessary. Patch any uneven areas with tile adhesive or patching compound.
3. Gather Your Arsenal: Stock up on quality tile adhesive, grout, spacers, a notched trowel, tile cutter, level, sponges, safety gear, and, of course, your chosen tiles!
Now, Let’s Tile!
1. Layout and Dry Run: Arrange the tiles on the floor or a large surface to visualize the final design. This helps identify any pattern repeats or adjustments needed.
Mark the starting point on your wall, ensuring it’s level and plumb.
2. Mix and Spread the Adhesive: Following the manufacturer’s instructions, mix the tile adhesive to a smooth, peanut butter-like consistency. Using the notched trowel, spread the adhesive onto the wall in a manageable area, creating ridges for better tile adhesion.
3. Laying the Tiles: Start from your marked point and work your way out, one row at a time. Gently press each tile into the adhesive, ensuring proper alignment and spacing using spacers. Use a level regularly to maintain a straight line.
4. Cutting Tiles: For corners and edges, use your tile cutter to create precise cuts. Practice on scrap tiles first!
5. Grouting Perfection: Once the adhesive dries completely (refer to manufacturer’s instructions), mix and apply the grout, filling the gaps between tiles diagonally.
Use a damp sponge to clean excess grout as you go. Let the grout dry, then buff the tiles with a clean, dry cloth to remove any haze.
Pro Tips for DIY Success:
Work in small sections to avoid overwhelming yourself and ensure the adhesive doesn’t dry prematurely.
Don’t rush! Take your time to ensure each tile is level and properly aligned.
Clean up spills and drips immediately to prevent grout stains.
Invest in quality tools, especially the tile cutter, for cleaner and more precise cuts.
Don’t be afraid to get creative! Mix and match tile patterns, add borders, or use contrasting grout colors for a unique touch.
Tada! Your Renovated Masterpiece:
With patience, planning, and this guide, you’ve transformed your old bathroom into a tiled haven. Remember, even small imperfections add character to your DIY project.
Celebrate your accomplishment, enjoy your beautiful new space, and bask in the satisfaction of a job well done!


Add Comment